
In my previous article, I have shared a simple way to capture the custom client-side performance metrics using Selenium + Javascript Navigation API. In this article, I have shared the details on the key capabilities & instructions on setting up NodeJS wrapper for Webpage Test API and executing a scripted test.
WebPageTest API
This is simply a REST API (Sponsored by Google and supported by many companies like AKAMAI, NewRelic, GoDaddy etc.) using which we can get the client-side performance metrics with the capabilities to simulate from a particular device, location, network bandwidth and so on. The below image gives you a clear idea on what we can do at a high level. i.e by providing a website like www.example.com, we can get the client-side performance metrics with actionable inputs.
Link: https://www.webpagetest.org/
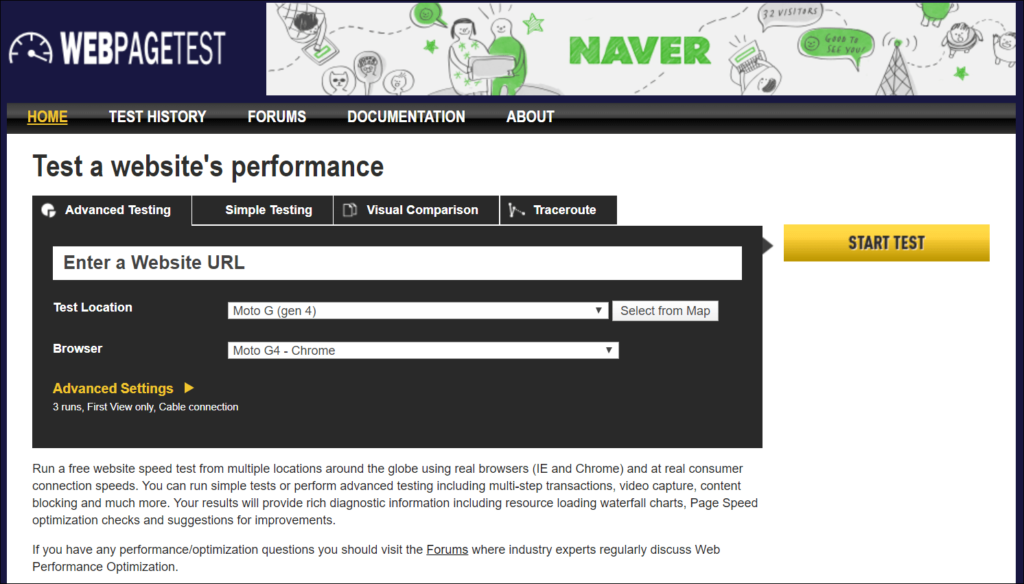
By simply glancing the home page www.webpagetest.org if you assume that this tool can be used only for testing the home page/landing page of any website then you are not alone. By going through the below sections I hope you might change your assumption.
Key capabilities
- Detailed client-side performance analysis with recommendations
- Test results obtained on actual devices and shared
- Waterfall
- Export HAR
- Resource usage details on the device
- Network Bandwidth/Latency simulation
- Video view for comparison of 2 tests
- Scripted tests [Not only the home page, but we can also get the details of the page that is next to login page/second page]
- Receiving the test results in an email.
- The entire tool can be set up as a private instance to test internal sites or setup in AWS.
- SPOF test [You can test your site’s behaviour when a particular third party service/server is down, ex-CDN]
- Lighthouse test [Lighthouse is part of the Chrome developer tools used for getting the audit report from performance and accessibility perspective]
- Continuous Integration using NodeJS wrapper.
Ultimately, once configured properly you can get the report to your email. I was very happy to see when a scripted test was executed and a report was sent to my inbox. In an opensource tool getting such a wealth of information about your site is simply great!
I can read your mind. You would have gone to the documentation page and now thinking about how to quickly start to use this tool. In the below sections I have shared the steps to set the NodeJS wrapper and a sample test that I was able to execute.
How to use WebPageTest API?
Step 1:
Access the public instance of WebPageTest at http://www.webpagetest.org. Play around by conducting some tests on the site that you like. [You can choose Browser, device(mobile/desktop), bandwidth, location etc] You would like it.
Step 2:
Request a key.
Click: http://www.webpagetest.org/getkey.php
Note: Sometimes it may take some time.
Step 3:
Understand that there are restrictions on using the public instance. [Per day you can execute only 200 tests with your key] Don’t expect the test results immediately. If there are multiple tests running on the device/location that you chose, your test would be queued and executed in an orderly fashion.
Step 4:
Once you get familiarized with the basic functionalities, explore the next level of scenarios i.e Scripted tests. Please refer the link below on detailed documentation.
Link: https://sites.google.com/a/webpagetest.org/docs/using-webpagetest/scripting
Due to the nature of REST API when we try to conduct a test for the page which requires session information, (Example: A page that can be accessed after logging in) we have to create a script to reach that page by following the guidelines mentioned in the above URL. Almost all user interactions like entering a text or clicking a button and submitting a form can be done by using the DOM properties. (Id, name, innerText etc). Please refer the below sample of the scripted test.

Navigate to the Advanced Testing -> Script tab in the front end and place the scripted test in that test area to execute a scripted test. Note that these commands should be delimited by tabs.
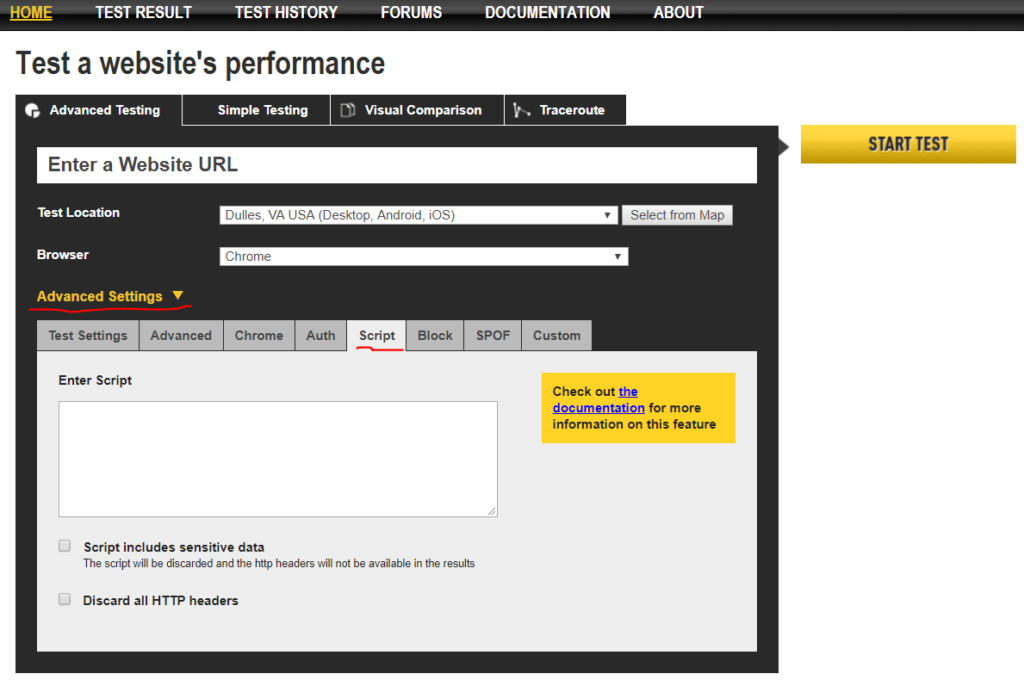
Note: Please be mindful about using sensitive data. (Credentials/PII data)
NodeJS wrapper – setup
Once you are able to execute the scripted tests that you can, explore the NodeJS wrapper developed by MarcelDuran. (https://github.com/marcelduran/webpagetest-api).
This is really a fantastic feature! Don’t worry by thinking that if you don’t have in-depth knowledge on NodeJS you wouldn’t be able to use this feature. You should be able to learn and implement without any major trouble.
What is NodeJS?
It is a runtime environment for executing the Javascript code. Yes. Javascript is much more capable than doing the client-side validations on a web page!!
Should I know NodeJS thoroughly to execute tests?
It’s a Yes and No. If you are looking for more customizations to be done on the results or the way that you get them it is better to get some in-depth knowledge. Otherwise, If you know how to set up and use it then I think you would be able to manage with the basic knowledge.
What is the advantage of using this NodeJS wrapper?
As NodeJS is a runtime environment for Javascript,
- You can write your tests in Javascript rather than writing the scripted tests in Webpagetest UI which is an error-prone one. (Ensuring that the key-value pairs are tab-delimited is a big task)
- Execute them from the command prompt.
- Continuous Integration support is available for Jenkins and Travis.
How to set up NodeJS (Windows 10)?
Link: https://nodejs.org/en/download/
Select the Windows 10 MSI of the latest version and follow the instructions. Once installed correctly you should be able to validate as given below.

Please find the below NodeJS test that I was able to execute successfully.

Note: Save the NodeJS code as a .js file and execute as follows in the command prompt.
C:\ node c:\path\Demo1.js
What does the above NodeJS code do?
- Loads the WebPageTest javascript module so that the methods can be called in this program.
- Creates an instance/object of type WebpageTest pointing to a public instance (i.e www.webpagetest.org. If you have a private instance setup you can provide the details as given below.)
var wpt = new WebPageTest(‘http://<private instance IP:port>/’, ‘<private instance key>’); - testSettings – Specifying the testSettings in which we want to conduct the test. (Location, Device, bandwidth etc. depending upon your requirement)
- script – Specifying the pages to navigate and which page’s data should be logged by webpagetest. The above script first loads a page then clicks on a particular button to navigate to another page and then runs the test with the specifications on that page.
- <wpt.runTest method> – It’s a method by which you can call the runTest method of WebpageTest.
Once executed successfully, if configured with the correct email we will get the results to our email. So far what we have seen is very basic usage and you may explore and implement this as needed for your requirements.
Hey!
I just came across this post. I’m a huge fan of WebPagetest, and I built a WordPress plugin that uses it’s API to run tests daily.
I was wondering, if you would like to give it a look also https://wordpress.org/plugins/speedguard/
Cheers!
Comments are closed.