
In NeoLoad, the Runtime section provides the options for performance test scenario creation and test execution. The runtime section has the following tabs:
- Scenarios
- Runtime Overview
- Runtime Graphs
- Runtime Errors
- Runtime Alerts
- Runtime Users
After the completion of the NeoLoad script recording and population setting, the next step is Scenario Creation. Before starting the scenario creation make sure that all of your scripts are working fine and generate the desired outcome (functionally).
For creating a scenario, you should know the value of all the key inputs like user load, test duration, ramp-up, ramp-down, steady-state period, expected TPS, pacing etc. Without these inputs, you can not design an accurate scenario or workload model. Some of these inputs are provided by the client or project team whereas some of the inputs need to be calculated by you using Little’s law. You can also use the following calculators to model an accurate workload as per the available inputs:
Once you get all the required input then click the ‘Runtime’ tab in the NeoLoad tool

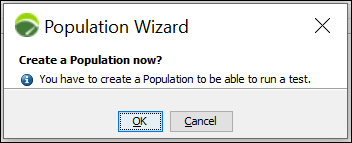
If you have not created a population before then a warning pop-up may force you to create the population first. Click ‘OK’
Provide the name of the ‘Population’ and select the appropriate option among these three:
- Create a Population with all defined User Paths (For multiple test cases)
- Create a Population with a single User Path (For a single test case)
- Do not create any Population
Click to get more details on Population.
By default, the ‘Scenario’ tab is opened. Scenarios and other tabs are described in the next articles.
You may be interested: