
Before starting the script through the NeoLoad tool, it is good to have functional and operational knowledge of its features, so that you can use the tool smoothly. Let’s start from the very beginning i.e. launching the tool.
NeoLoad – Launch Screen Options

When you launch NeoLoad for the first time you will get several options which include
- New Project: To start a new NeoLoad project.
- Open Project: If you already have a NeoLoad project in the system then click the ‘Open Project’ link and browse the project folder.
- Open Sample Project: NeoLoad has one sample project with the recorded flow for the http://sampledemo.neotys.com/ web application. You can use this sample project to get an understanding of scripting through the NeoLoad tool.
- Recent Projects: A list of recently opened projects. To open the specific project given in the list you can click on the respective link.
- Getting Started: Here, you can get the links to learning materials provided by NeoLoad. You can access the Start Guide, Online Videos, FAQ and NeoLoad Community.
- Documentation: You can get Reference Guide, User Guides, Best Practices, Troubleshooting Guide and Tutorials links.
- Latest Release: At the bottom, you can get information about the latest release of NeoLoad and its new features.
NeoLoad – Quick Menu Options

Following are the quick menu options which are self-explanatory.
- New project
- Open project
- Save project
- Start Recording
- Click a User Path
- Start debugging the currently selected scenario
- Start playing the currently selected scenario
- Open Cloud Console
- Variables
- Result Manager
- Service Level Agreement profiles manager
- Search and Replace
- Flag Requests
- Export your project to NeoLoad Web
- NeoLoad help
NeoLoad Components

A good part of NeoLoad is that it has all three important components in one UI which help to create the test script, prepare the test scenario and analyze the test result without switching the tool. The following are the components:
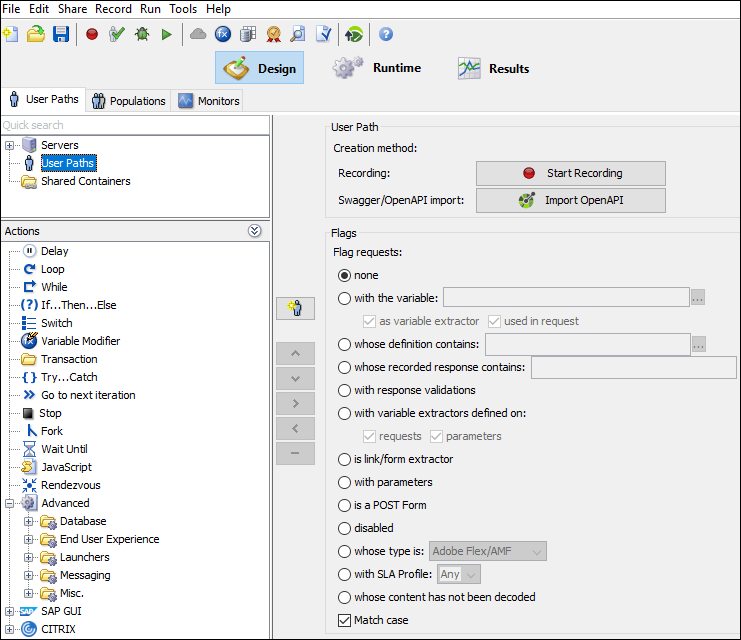
- Design: It is used to create the test script of the AUT (application under test). The design dashboard has the following tabs:
- User Paths: This tab has all the options that are related to the script creation. You can see a quick search box, tree-structured test script and Actions in the left pane and respective information in the right pane once you select the item in the script.
- Populations: It shows the collection of User Path and other information. You can use the populations tab to set the percentage of user path, Browser, WAN emulation, Cache etc.
- Monitors: To add the specific monitor or monitoring agent to the test.
- Runtime: It is used to prepare the workload model as per the given requirement.
- Results: It is used to analyse the test result.
NeoLoad Home
You may be interested: