
Follow the steps to install LoadRunner Analysis Tool on a local windows machine:
Note: This guide shows the installation of LoadRunner (Analysis Tool) 2020. In case of any mismatch in the installation steps, refer to the official LoadRunner website.
1. Browse the link https://www.microfocus.com/en-us/products/loadrunner-professional/download.

2. Click ‘LoadRunner_2020_Edition_Standalone_Applications.exe’.
3. You may be navigated to the sign-up page (Register for Free Trial). Fill all the required details and click the ‘Start Free Trial’ button.

4. If you already have a registered account then click ‘Sign-In’, provide your credentials and log in to the site.
5. ‘Download Confirmation’ page will appear and the installation package starts downloading. In case it does not start automatically then hit ‘Click here’ link.

6. Once the installation package is downloaded completely then double click on the ‘.exe’ file.
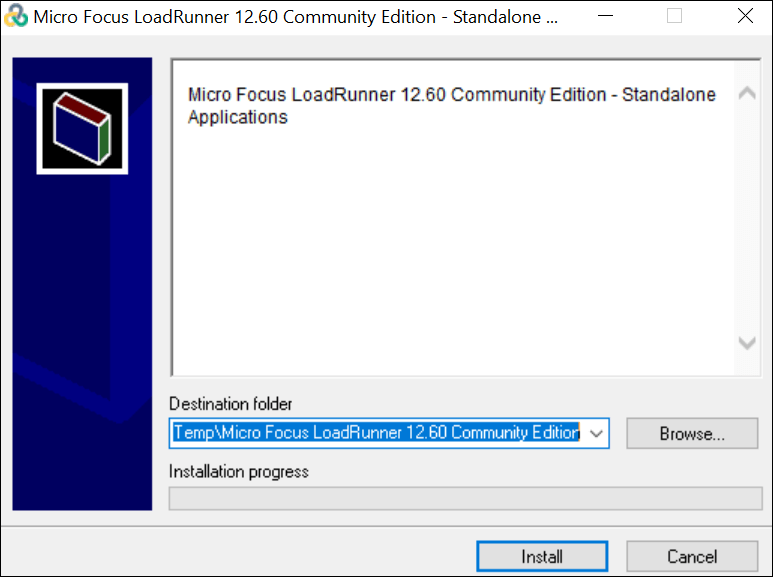
7. Click ‘Install’. You can monitor the installation status in the installation progress bar.

8. The executable file (.exe) of all the components are exacted in the path shown in the Destination folder (in Figure 05). Go to the same path click the respective executable file.

Installation of LoadRunner Analysis Tool:
1. Go to the folder (shown in Figure 06) where installation package extracted the executable files.
2. Click ‘MF_Analysis_2020_Windows’. Installation window opens with a default location. If you want then you can change the location. Click ‘Next’.
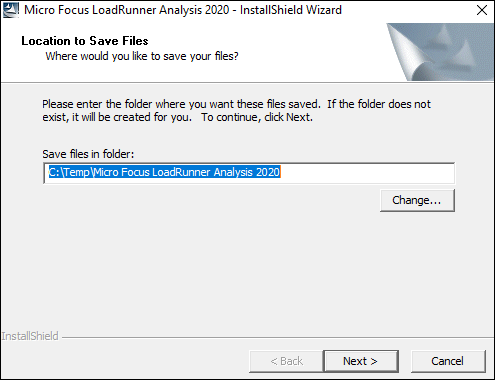
3. Installation starts with extracting the files at the given location.

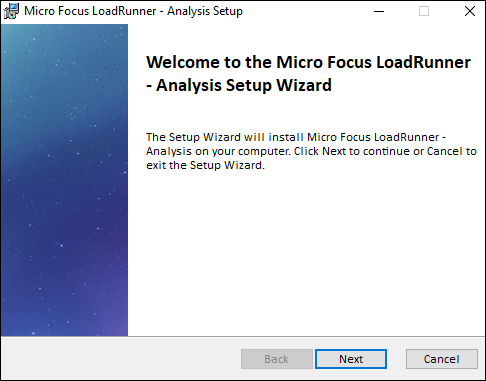
4. Click ‘Next’ on the set-up wizard window of Analysis tool.
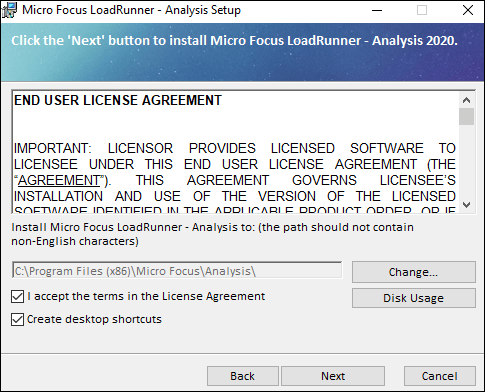
5. Select ‘I accept the terms in the License Agreement’ checkbox. Once you checkmark this option the ‘Next’ button will be enabled.
There is one more option, ‘Create desktop shortcuts’. You can check or uncheck it per your requirement.
6. Choose an appropriate option for Analysis Tool set-up. If you use LoadRunner Enterprise (previously called Performance Center) then select ‘LoadRunner Enterprise’ else choose ‘LoadRunner’ for the result generated by LoadRunner (i.e. Controller).

Note: The further steps of installation is continued with ‘LoadRunner’ option.

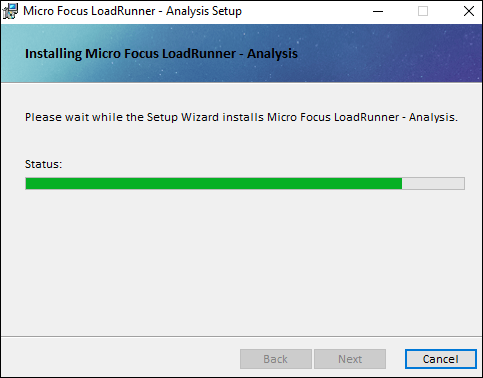
7. Click ‘Install’ to start the installation process and monitor the progress bar.
8. Click the ‘Finish’ button.
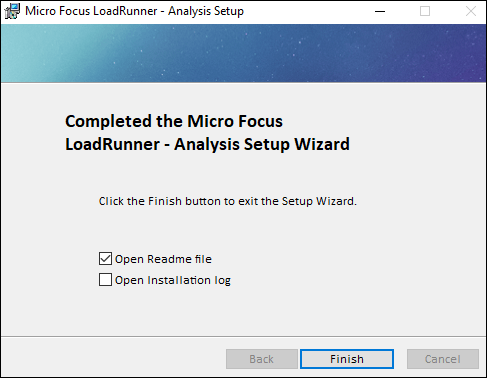
Now, you are ready to carry out the analysis of the test.
You may be interested: