
web_image_check is a LoadRunner function which is used as a content check function in the test script.
- web_image_check function helps you verify whether or not the page you received has the expected image.
- You can specify the image property Alt, Src or both for the image which should be present in the response of the page.
- This function is used only for HTML-based and not for URL-based scripts.
- Unlike text check, the image check can not be added during recording.
Why the function name is like this?
web_image_check function is used for web protocol (denoted by ‘web’). This function checks (represented by ‘check’) the presence of the specified image (denoted by ‘image’) in the HTML web page. Hence it is named as ‘web_image_check’.
How to add the web_image_check function in the script?
1. To add an image check in the script you must know about the alt or src attribute of the image on the web page. To get the alt or src attribute of the image, follow the below steps:
a. Open the web page in the browser
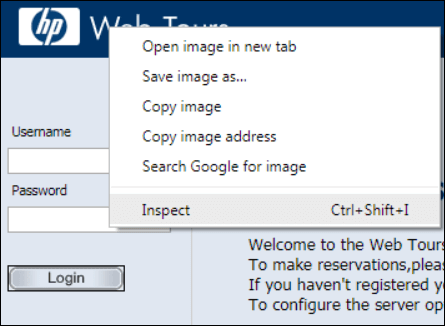
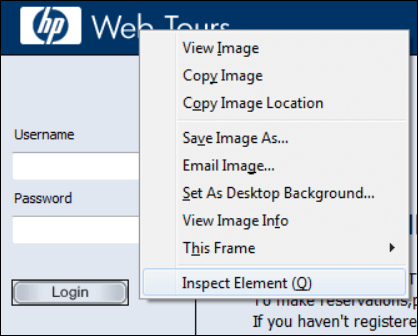
b. Right-click on the image
c. Click ‘Inspect’ (in Chrome) / ‘Inspect element’ (in Internet Explorer and Firefox)
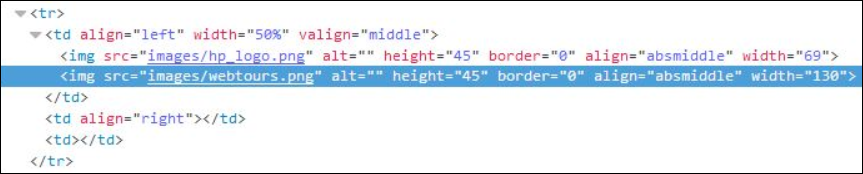
d. Copy either the alt or src value. Refer to the below screenshot in which the alt value is blank, so the src value ‘image/webtours.png’ needs to be copied. You need anyone value from them.
2. Go to the Vuser script.
3. In the Editor, locate the position where you want to insert the image check.
4. Go to Menu then Select View -> Steps Toolbox (or Press Ctrl+Alt+B) to open the Steps Toolbox.
5. In the Steps Toolbox, type ‘web_image_check’.
6. The search result will show you the ‘web_image_check’ function. Double-click on it.
7. Enter the alt or src value in the ‘Image Check Properties’ dialogue box.
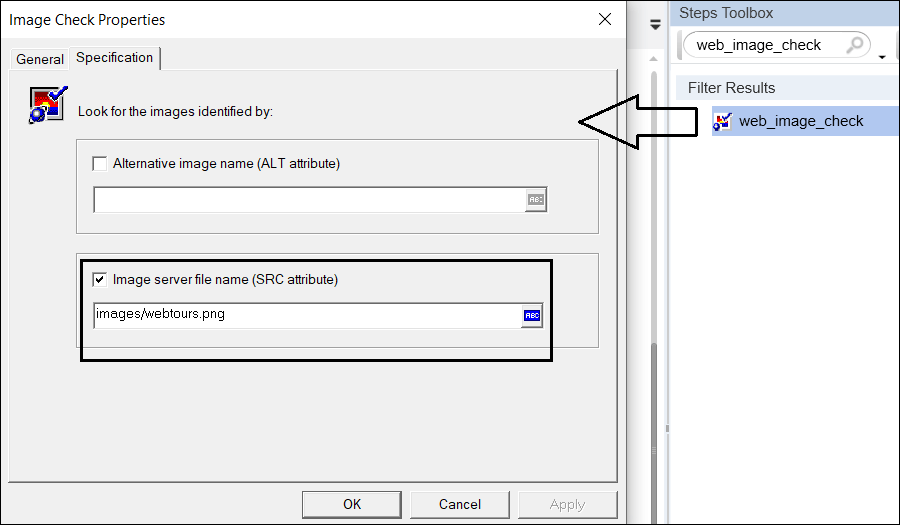
8. Click ‘OK’ to insert the function in the Vuser script.
Attributes of ‘web_image_check’:
There are two search options available in the ‘Image Check Properties’. You choose either or both of them as per the availability of the image tags.
a. Alternative image name (ALT Attribute): Extract and provide the value of the ALT tag by following the above-given steps.
b. Image server file name (SRC attribute): Extract and provide the value of the SRC tag by following the above-given steps.
Note:
1. Once you added either ALT attribute or SRC attribute or both then “General” tab will be enabled.
2. Uncheck “View only the active properties” to enable optional attributes under “General” tab

c. Frame: This is an optional attribute. This attribute specifies the scope of the search in the case of multiple frames.
d. AssignToParam: This option enables the feature to save the value in a parameter. The possible values are ‘Yes’ and ‘No’.
e. MatchCase: This is a supportive option that helps to define whether the search is the case–sensitive or not. The possible values are ‘Yes’ and ‘No’.
f. OnFailure: This option helps to determine whether the script instance should abort or continue if the check fails. The possible values are ‘Abort’ and ‘Continue’. If abort is selected then the script will abort if the check fails, regardless of the error–handling method set in the run-time settings. If continue is selected then the script will continue even though the check fails.
g. Expect: This option verifies whether the check is successful or not. The possible values are ‘Found’ and ‘NotFound’ in which ‘Found’ is a default value.
h. Repeat: This option defines whether the search should be continued after the first appearance of the search image is located. This option is useful when searching through a web page that may have multiple occurrences of the search image. The default value is ‘Yes’. If Yes is selected then the search will be continued after the first appearance of the search image is located. If No is selected then the search will be stopped after the first appearance of the search image is located.
i. Report: This option helps to define under what conditions VuGen displays the results of the checks in the Result Summary Report. There are 3 values, you can choose any one of them. The default value is ‘Always’. If Success is selected then the result will be displayed only if the check succeeds. If Failure is selected then the result will be displayed only if the check fails. In case, Always is selected then the result will be displayed irrespective of the outcome of the check.
You may be interested: